

Disclaimer: Devoted Grandma is reader-supported. If you purchase anything through my site, I may receive a small commission (at no cost to you). Thank you.
Now listen, dear—your iPhone already has a wonderful little memory built right into it. It’s called the Calendar app, and once you learn how to use it properly, it will remember birthdays, appointments, school events, church dates, trips, and bill reminders so you don’t have to keep everything in your head.
Let me walk you through this slowly, clearly, and step by step, the way I’d explain it over a cup of tea ☕.
Step 1: Find and Open the Calendar App

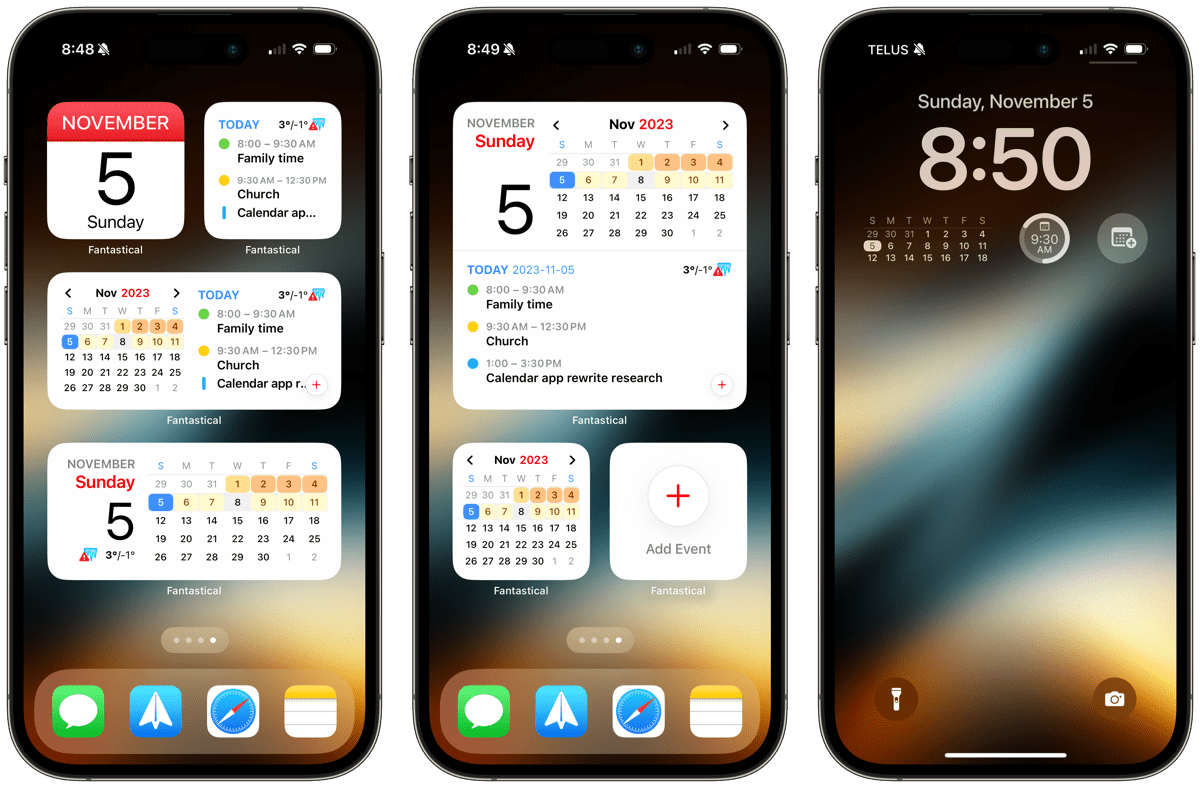
- Look at your iPhone’s home screen
- Find the app called Calendar (white background with today’s date in red)
- Tap it once to open
👉 This is the only calendar we’re going to use so life stays simple.
Step 2: Make Sure Your Calendar Is Saving Everything (Very Important!)
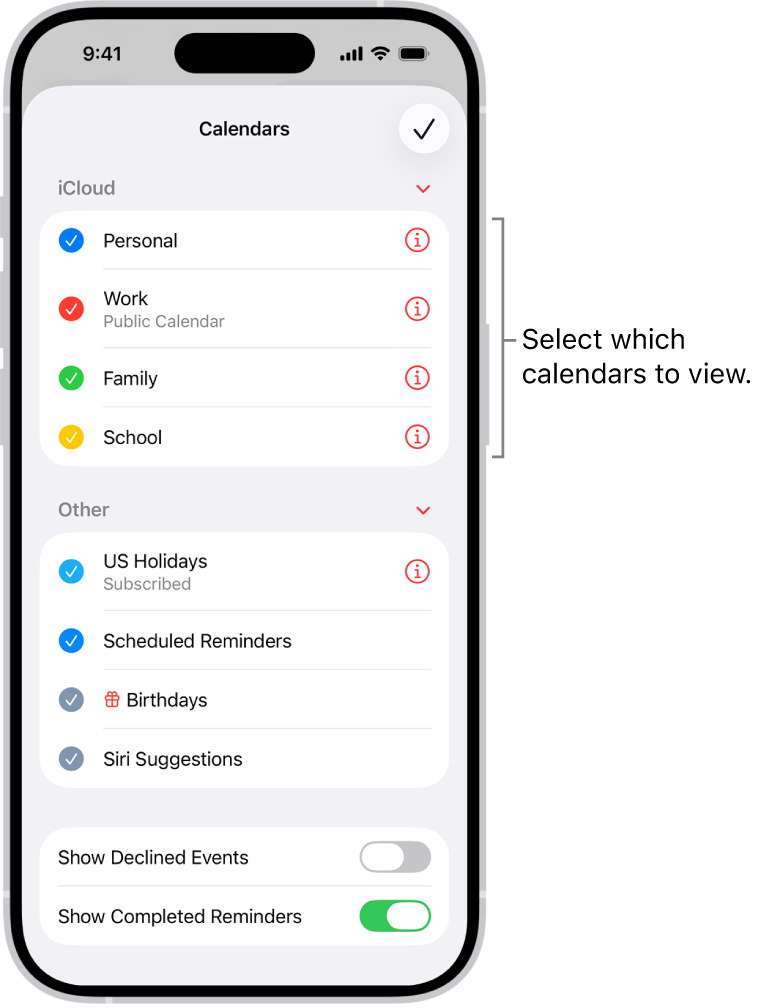
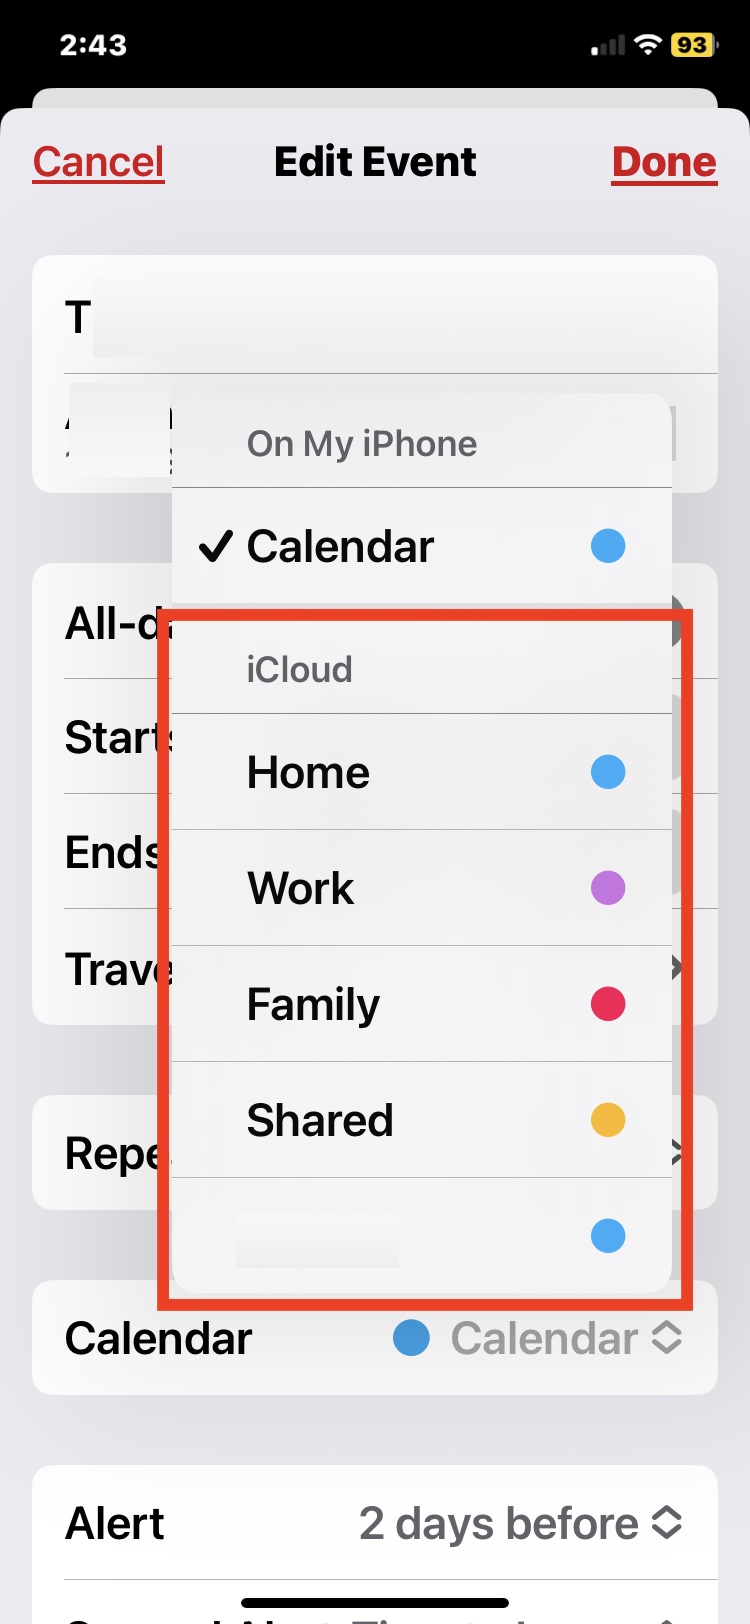
This makes sure nothing is lost if your phone breaks or you get a new one.
- Open Settings
- Tap your name at the very top
- Tap iCloud
- Scroll down and make sure Calendars is turned ON (green)
✅ Now everything you add is safely backed up.
Step 3: Create Different Calendars (This Is the Secret to Staying Organized)

Instead of one big messy list, we’ll create categories.
Helpful calendars for grandmas:
- Family
- Grandkids’ School
- Medical
- Bills
- Church
- Travel
How to create a new calendar:
- Open the Calendar app
- At the bottom, tap Calendars
- Tap Add Calendar
- Tap Add Calendar again
- Type the name (example: Family)
- Tap Done
💡 You can hide or show calendars anytime by tapping Calendars again.
Step 4: Add an Event (Slow and Simple)
Let’s add something together—say, a birthday.
- In the Calendar app, tap the + (top right)
- Tap Add Event
- In Title, type:
👉 Ava’s Birthday 🎂 - Tap Starts and choose the date
- Turn All-day ON (for birthdays)
- Tap Calendar and choose Family
- Tap Add Alert
- Choose 1 week before
- Tap Add Alert again → choose On day of event
- Tap Add (top right)
🎉 That’s it! You’ll never forget again.
Step 5: Use Repeating Events (So You Don’t Keep Re-Adding Things)
Perfect for:
- Birthdays
- Anniversaries
- Church
- Monthly bills
- Weekly calls with grandkids
How to make an event repeat:
- Open the event
- Tap Edit
- Tap Repeat
- Choose:
- Every Week
- Every Month
- Every Year
- Or Custom
- Tap Done
💡 Example: “Call Grandkids” → Repeat Every Sunday
Step 6: Add Alerts (Because Reminders Are the Whole Point)
Good reminder ideas:
- Appointments: 1 day before + 1 hour before
- Birthdays: 1 week before + morning of
- Bills: 7 days before + 2 days before
How to add alerts:
- Open the event
- Tap Edit
- Tap Add Alert
- Choose how early you want to be reminded
- Tap Add Alert again if you want a second reminder
- Tap Done
⏰ Future-you will be very grateful.
Step 7: Use the Notes Section (This Saves So Much Stress)
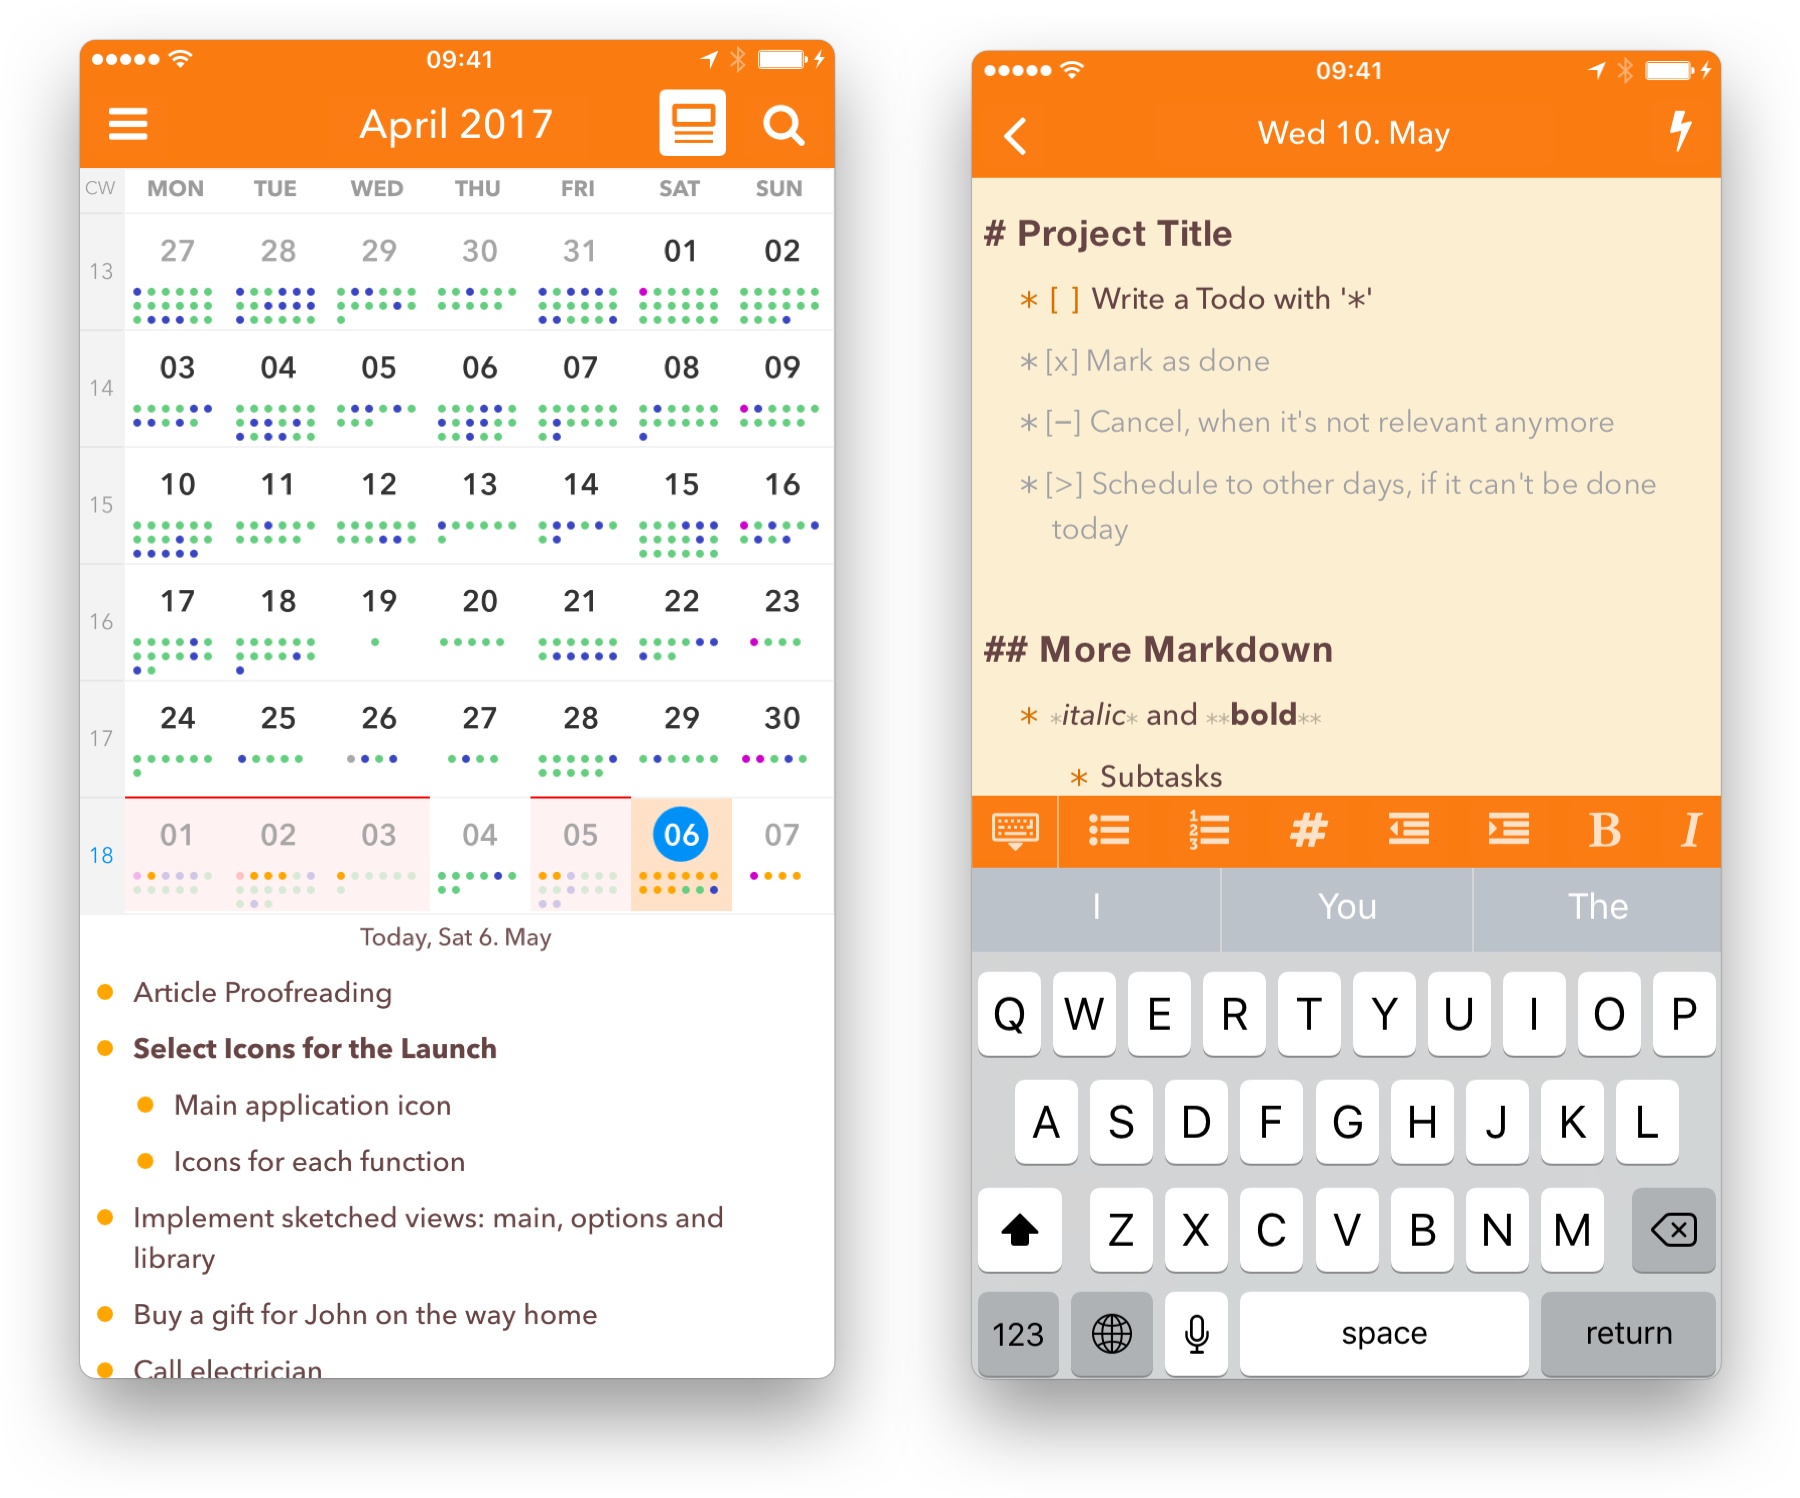
Tap Notes inside an event and add:
- Addresses
- Parking instructions
- What to bring
- Gift ideas
- Confirmation numbers
- School instructions
📝 Example note:
“Bring insurance card + lab results”
Step 8: Add Bills Once and Forget About Them
For bills like:
- Electricity
- Water
- Internet
- Phone
Create one repeating event:
- Title: Pay Electricity Bill
- Repeat: Monthly
- Alerts: 7 days before + 2 days before
- Calendar: Bills
💡 Put “pay online” or account info in Notes.
Step 9: Do a Weekly Peek (5 Minutes, That’s All)
Once a week:
- Open Calendar
- Tap Week view
- Look ahead 7–14 days
- Adjust reminders if needed
- Add anything you forgot
📌 I like Sundays, but choose what works for you.
Step 10: The Golden Grandma Rule
Whenever someone says:
“It’s on Thursday…”
“Next month…”
“Don’t forget…”
You say:
“Let me add that to my calendar.”
And you add it right away.
A Simple Calendar Setup You Can Copy
Calendars:
Family | School | Medical | Bills | Church | Travel
Event titles:
- Doctor – follow-up
- Ava – Birthday 🎂
- Bill – WiFi
- School – concert


