Remember when we were kids, and everything was made of the utmost quality? Today, it seems that everything is made in haste and with a bunch of added fillers and chemicals, which is why I like to make as much of my own toiletries and cleaning supplies as possible, including soap!
While soapmaking may not sound like the most exciting activity, it is enjoyable, as it is easy to customize and even makes an excellent gift for your grandkids’ friends (mostly teen girls!) and teachers. Are you ready to try this squeaky clean activity with your grands? Here is what you will need:
Materials
- Lye (Sodium Hydroxide)
- Distilled Water
- Oils (Olive Oil, Coconut Oil, and/or other preferred oils)
- Essential Oils for Fragrance (Lavender, Peppermint, etc.)
- Herbs, Flowers, or Colors (for added visual appeal)
- Soap Mold or Silicone Muffin Pan
- Safety Goggles and Gloves (for handling lye)
- Mixing Bowls and Utensils
- Stick Blender or Hand Mixer
1. Safety first!

Before starting, you will want to emphasize the importance of safety. Wear gloves and goggles when handling lye, and ensure good ventilation in your working area. Keep little hands away during the lye mixing part.
2. Preparing the lye solution (adults only!)
Slowly and carefully add the lye to the distilled water while stirring (never the other way around). This will get very hot, so it is a step for grandma only. Allow this to cool down while you prepare the oils.
3. Mixing oils
While the lye solution is cooling, measure and mix your chosen oils in a separate bowl. This is a perfect step for little helpers to assist as they pour pre-measured oils into the mixing bowl.
4. Combining the lye and oils (adult supervision required!)
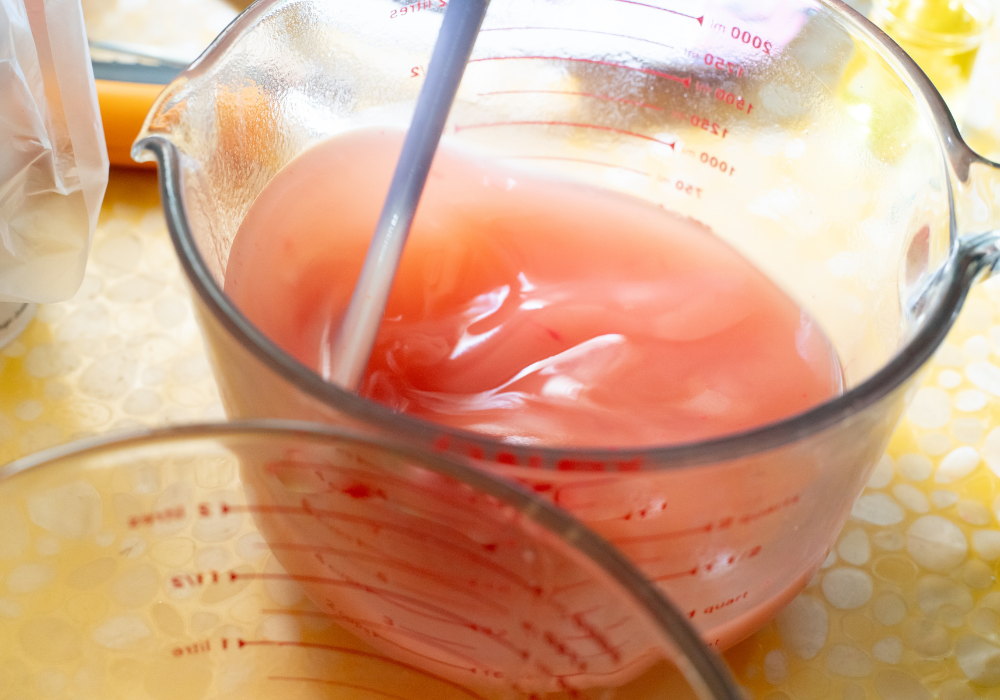
Once the lye solution has cooled down (to about 100-110°F or 38-43°C), slowly blend it into the oils. Use a stick blender or hand mixer to mix until you reach ‘trace,’ which is when the mixture has the consistency of pudding.
5. Add personal touches
Now it’s time for the grandkids to get creative! Let them choose and add a few drops of their favorite essential oils for fragrance, and mix in herbs, flowers, or colors to give the soap personality. Stir these additions gently with a spoon.
6. Pouring into molds
Help your grandkids carefully pour the soap mixture into molds or a silicone muffin pan. Make sure they do this slowly to avoid spills!
7. Waiting game

Explain to your grandkids that the soap needs time to harden and cure. (This is a wonderful lesson in patience!) The soap should harden in the molds for 24 hours and then cure in an airy spot for 4-6 weeks.
8. Cut and enjoy
After the soap has hardened for 24 hours, you can remove it from the molds and, if necessary, cut it into bars. Then, place them in an airy spot to cure.
Tips for gifting
Once the soap is fully cured, have a crafting day to create labels and packaging. Your grandkids can gift them to family members, teachers, or friends or keep them to enjoy.
Conclusion
Is there a more perfect activity than this? It teaches safety, science, patience, and creativity, all wrapped up in a day of bonding! Plus, your grandkids will be so proud to use or gift the soap they made with their beloved grandma. Happy soaping!